Last month we released new parameters to give you more control over the framing of your images. Before, it was only possible to add uniform border and padding to images. This made it difficult to achieve certain visual effects and layouts using the imgix rendering API. With the new parameters, you can now adjust each side of an image where border or padding is applied.
This post provides an overview of how to customize image borders and padding using the new parameters.
What’s the Difference Between Border and Padding?
While both the border and padding parameters provide similar functionality for creating a frame around an image, each has separate properties that makes it better suited over the other in certain use cases.
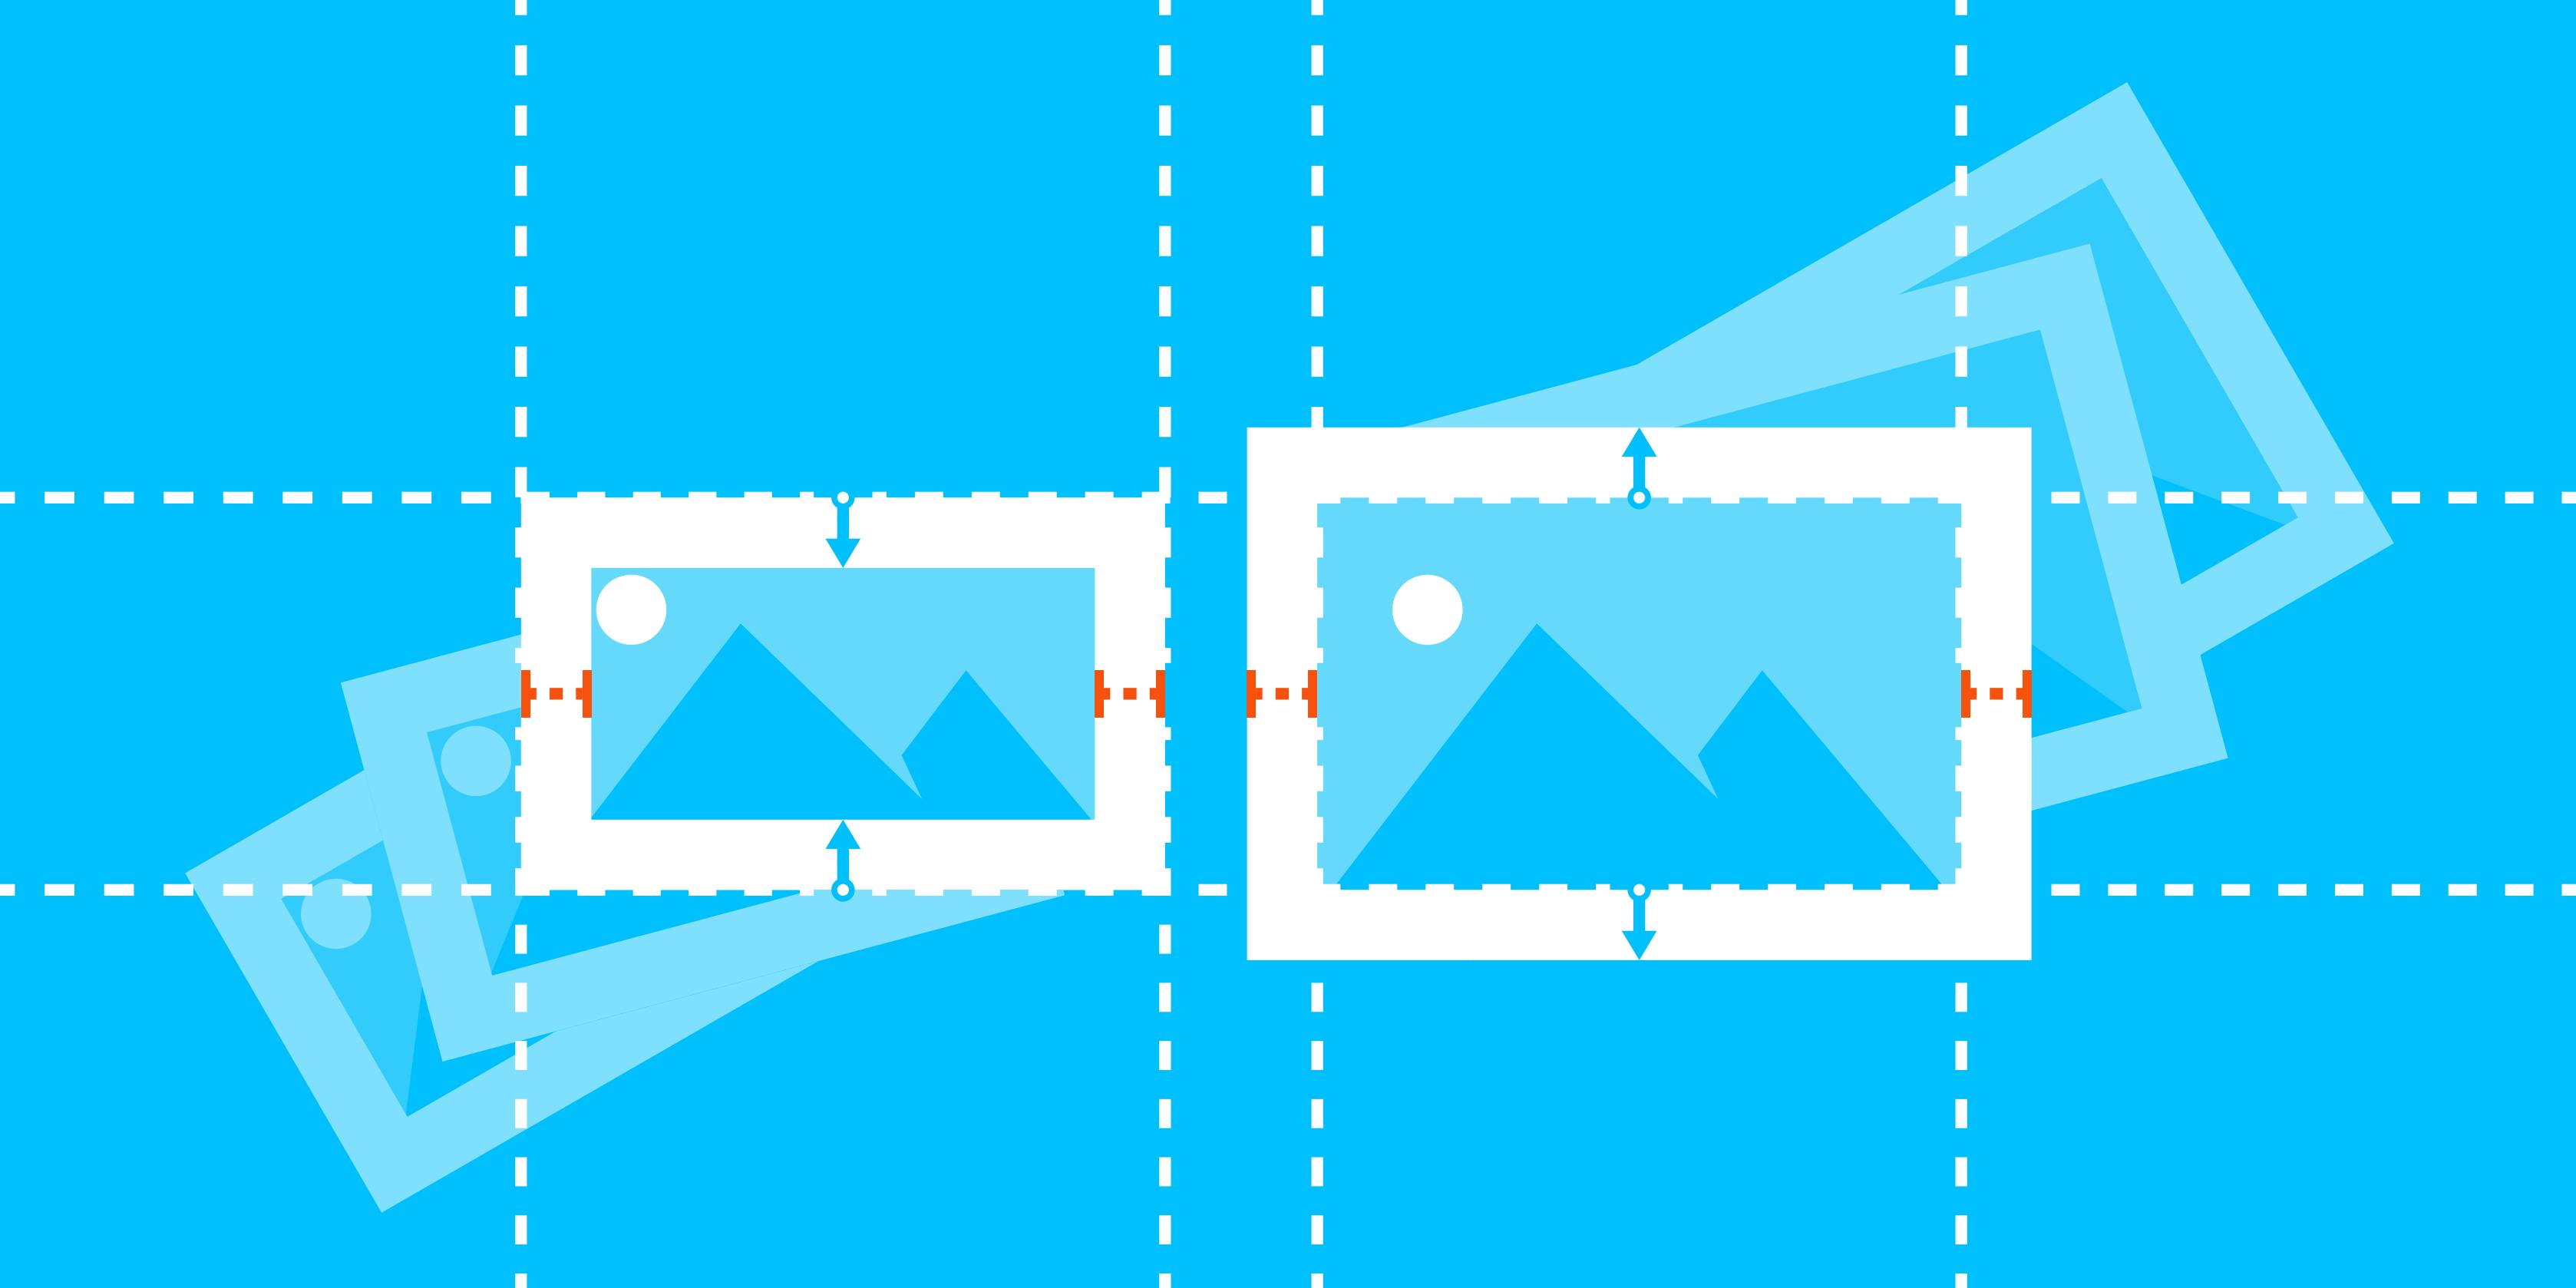
To start, the border parameter applies a colored stroke over an image, whereas padding creates empty pixels outside of the image that is then filled with a background. These two properties interact with other parameters in different ways, which can be seen in the comparison below.
Since the stroke from the border parameter is added within the image’s calculated space, this makes it suitable for layouts where you need to position the text over the border.
Otherwise, padding is useful in cases where you need to simply add a frame that doesn’t cover the image.
New Border Parameters
The four new border parameters are:
Use these parameters to modify the individual border sizes when border is applied. A popular use case for uneven borders is to create image cards with text. By using the new border variations, you can create a single-sided border and combine it with either txt or mark.
To use the border variations, you must first set the initial border before modifying the border size.
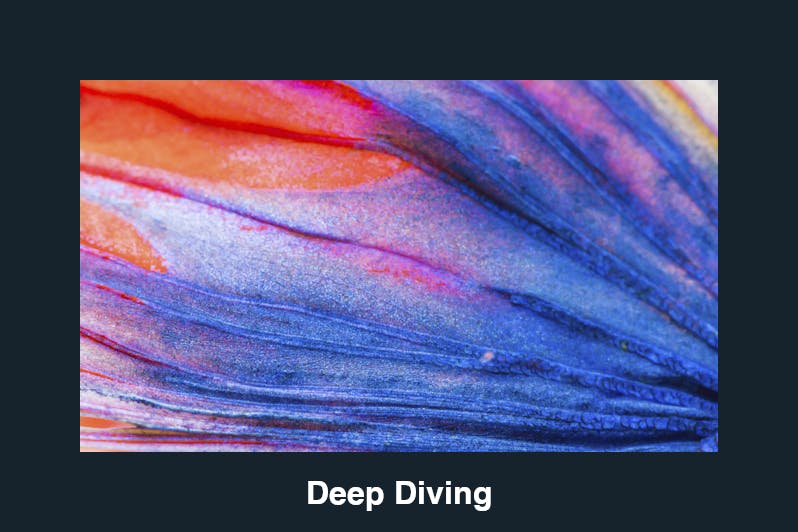
Photo with caption
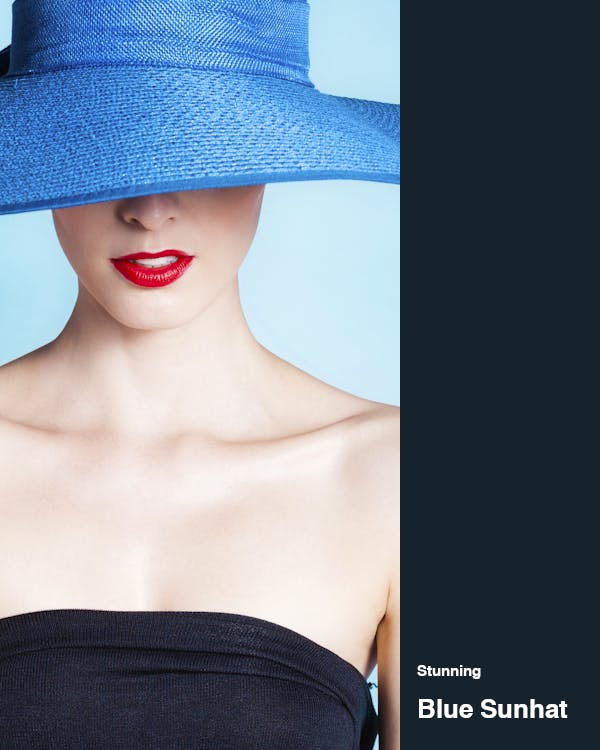
Product card using border & mark
In the left example, we start with border=0,16232D to set the initial border. We then apply border-bottom=200 to increase the bottom border's size to 200px. After, we overlay text with txt & mark to create an image card with a caption.
For the example on the right, we combine border=0,16232D with border-right=200 to create a large, right-sided border. After that, we use the mark parameter to add a description to the bottom right of the image, creating an image card with the product name.
New Padding Parameters
The four new parameters for padding are:
With these, you can selectively add padding to the sides of images to create eye-catching frames.
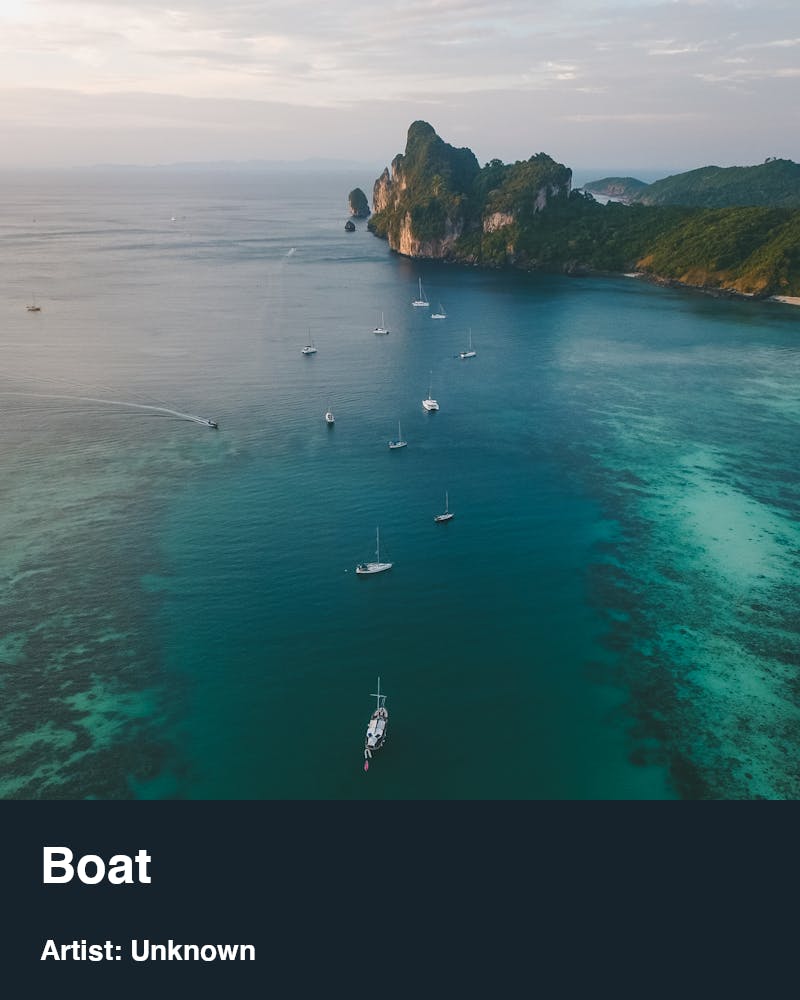
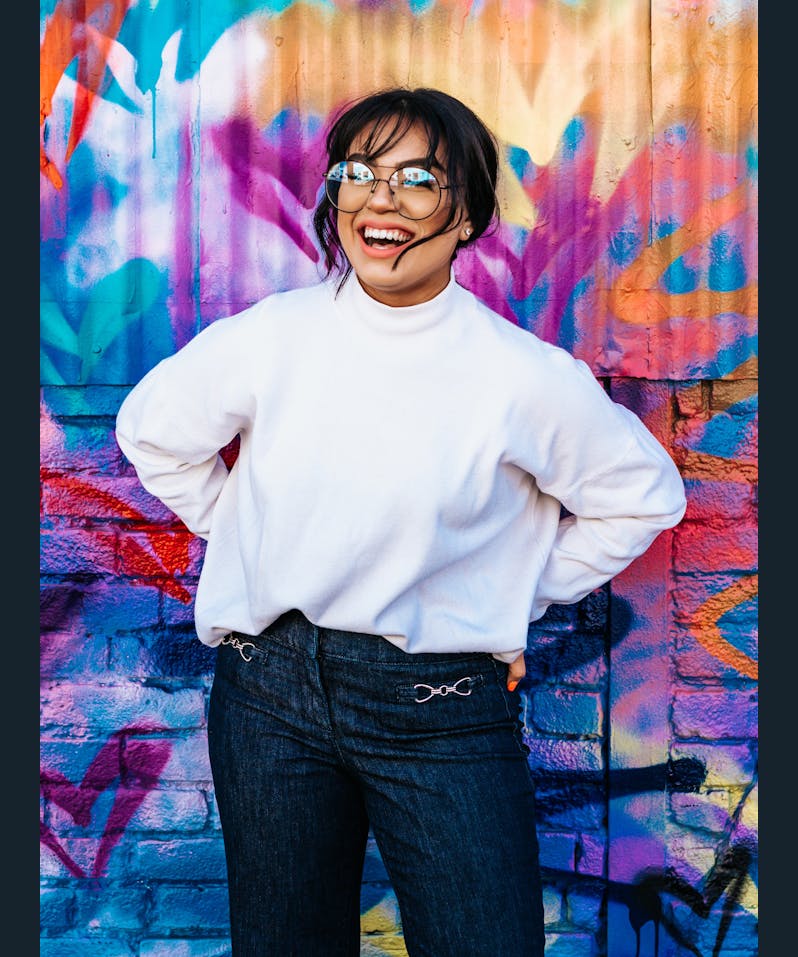
Poster style
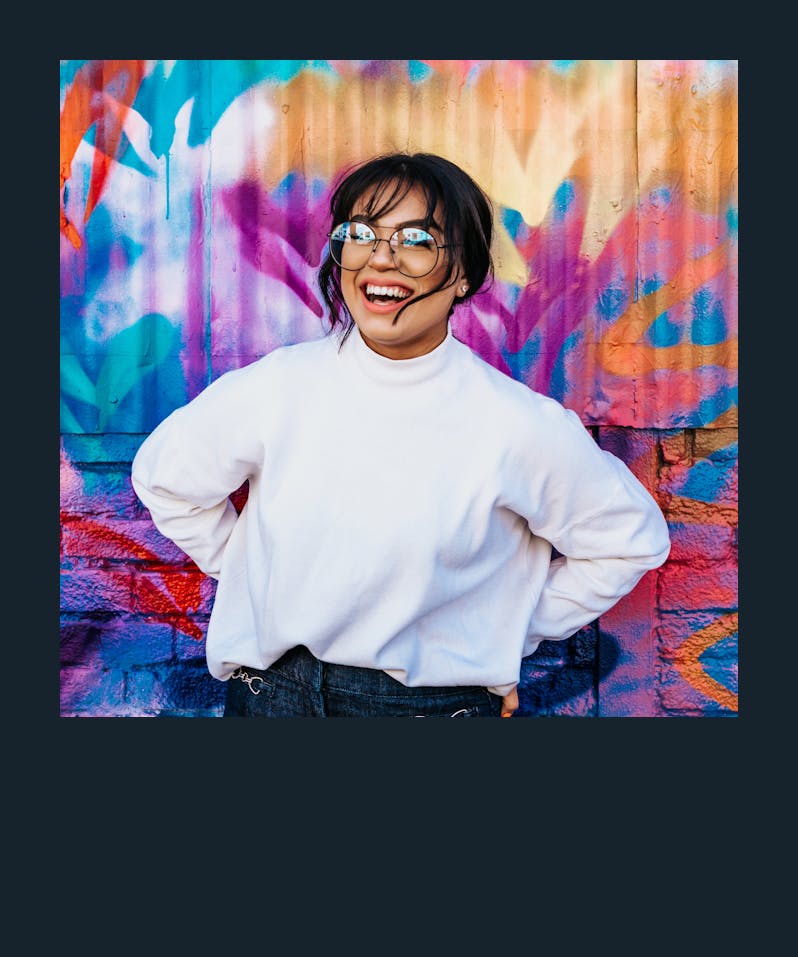
Polaroid style
Unlike border, which requires the initial border to be set, the new padding parameters can be applied independently on images. In the left example, we apply padding to the sides by using only two parameters: pad-right=40&pad-left=40.
The new padding parameters can also be used as a modifier. In the right example, we modify the original padding (pad=60) by applying pad-bottom=240 to create a Polaroid-style card.
Click here to read the full documentation for border and padding. If you have any questions or feedback about these new parameters, please let us know.


